If you are an automation engineer, taking screenshots and managing them might play a major role in your framework. Especially if you are performing visual tests and comparing UI with tools like Applitools, screenshots become even more important. But, are you missing a part of your screenshot from the test script and wondering what could have caused this?
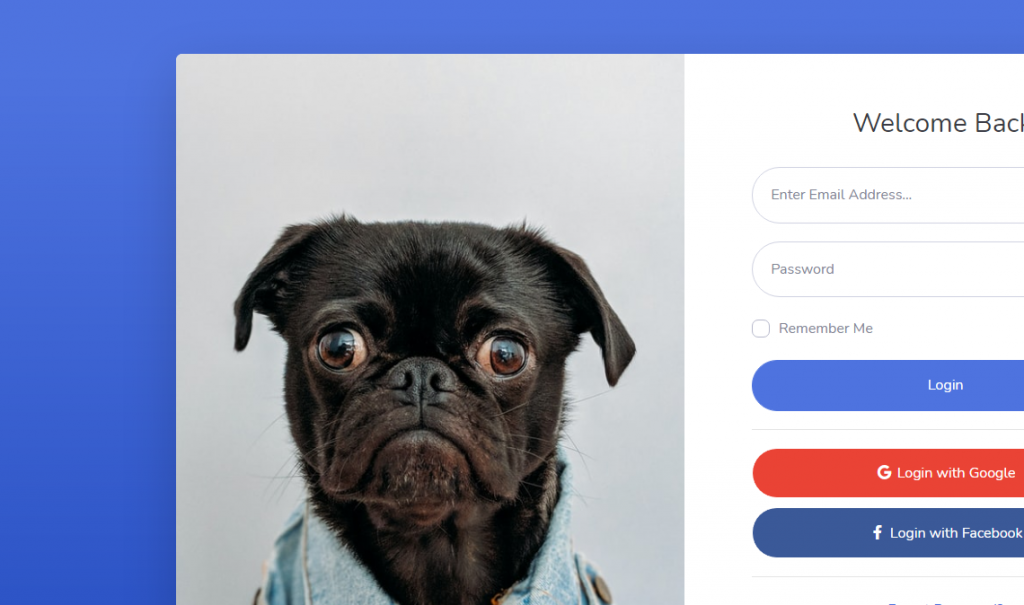
It is one of the common issues that engineers face when they change the Windows scaling. By default, based on the screen resolution supported Windows 10 recommends setting the scaling to 125% or even 150%. But when you don’t handle the viewport settings to accommodate this change in your test code, you will end up with a partial screenshot.
How to fix this?
It is a simple fix. Simply add the required scaling that matches your system settings. You can find it either from the Windows display settings or by running window.devicePixelRatio; in the browser console.
//Before Fix
Screenshot screenshot = new AShot()
.shootingStrategy(ShootingStrategies.viewportPasting(1000))
.takeScreenshot(driver);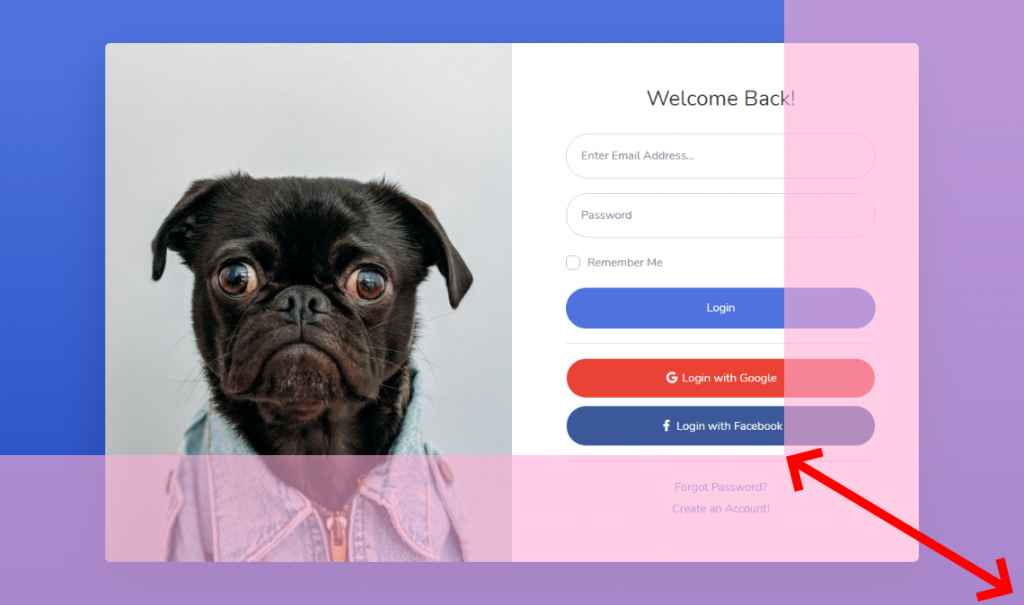
//After Fix - Includes scaling of 125%
Screenshot screenshot = new AShot()
.shootingStrategy(ShootingStrategies.viewportPasting(ShootingStrategies.scaling(1.25f), 1000))
.takeScreenshot(driver);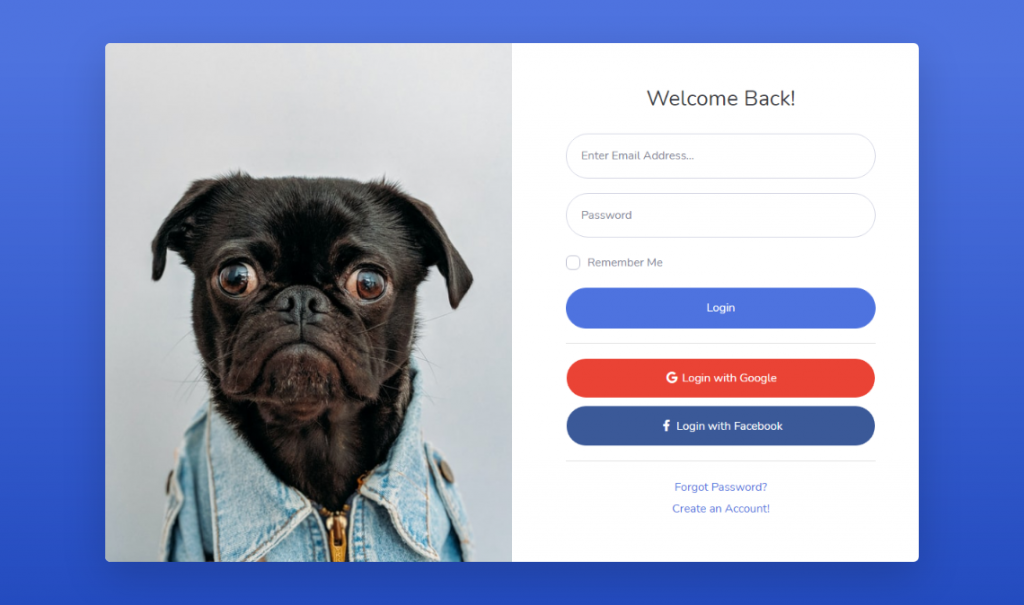
Viola! There’s your full screenshot.
You can leave your comments here or on Twitter @testingchief. If you are interested in similar articles on software testing or test automation, you can find them here.


